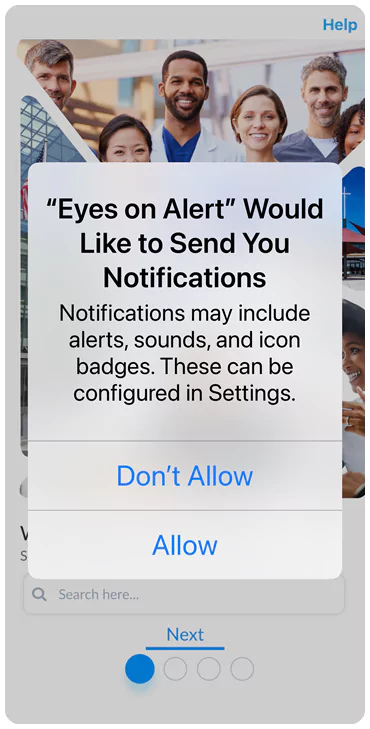
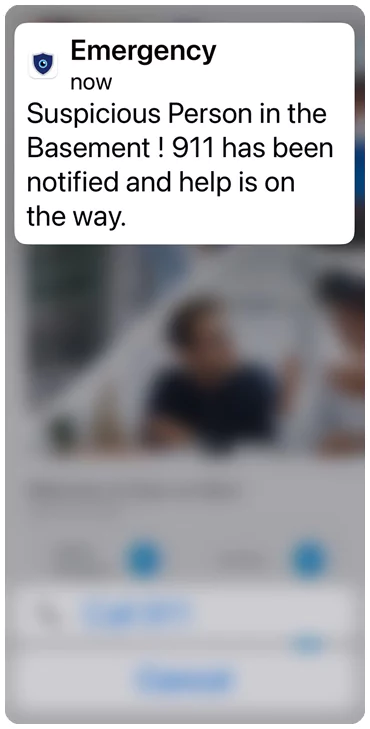
Once you download the mobile app from the app store, You will want to allow for notifications.
2
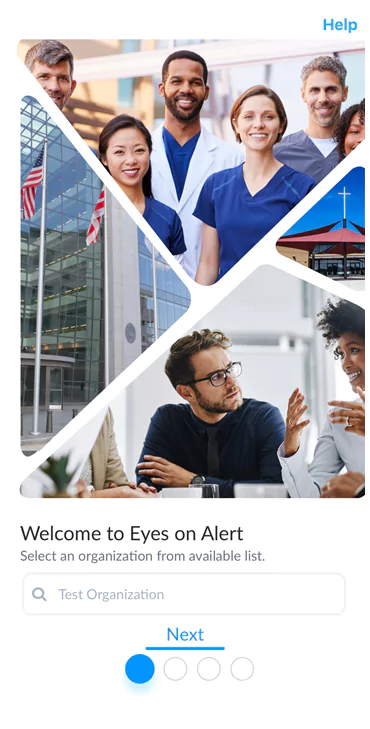
Type in the name of your organization.
(For demonstration purposes, the name of the organization we are using is “Test Organization.”)
3
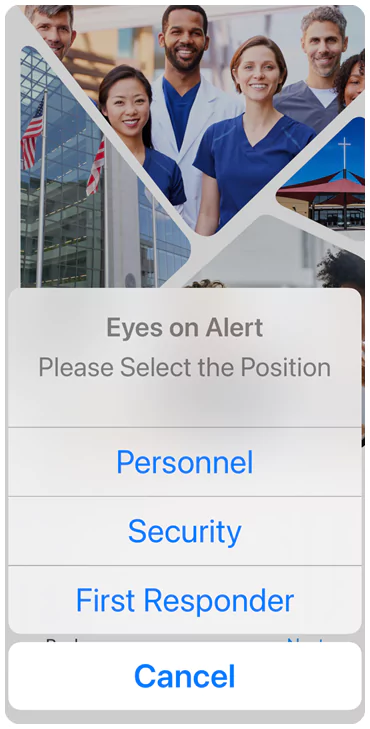
Next, select Title and then your position within your organization
4
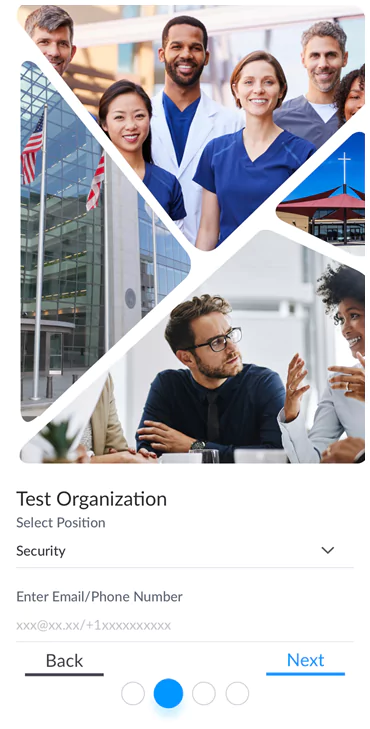
You may be asked to input your name or telephone number. When entering your phone number, begin with +1 then your area code, followed by your 7-digit phone number
5
You will be asked to enter a one- time password (OTP) as part of our 2-step authentication system.
6
You will next be asked to choose 4 locations you are most likely to be at any given day from a list of all locations provided by your organization.
7
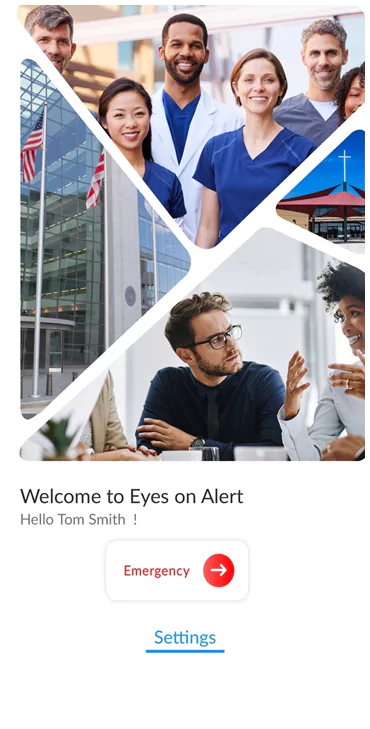
Your Eyes On Alert mobile app is now ready to use. To initiate an emergency notification, simply press the emergency button.
8
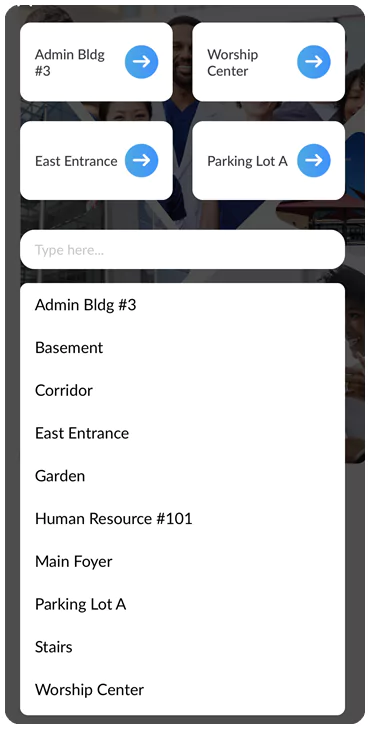
You will then select the location of where the emergency is occurring on your campus. The 4 locations you chose when setting up the app are at the top to make selecting a location quicker. If the emergency is not occurring in one of those 4 locations, simply select one of the locations from the alphabetized list provided by your organization.
9
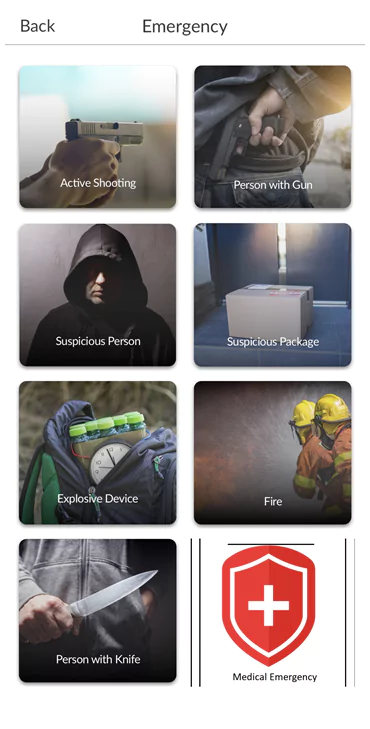
You will then select the type of emergency occurring. These are the 8 most common emergencies that occur within organizations
10
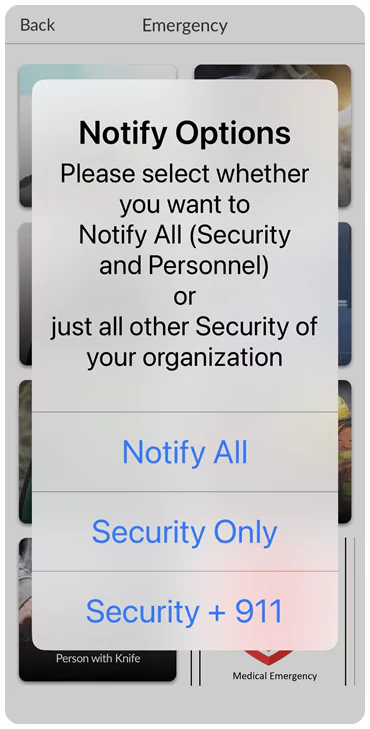
Next you will select who you want to notify. If you notify all, you will also have an opportunity to place a call to 911.
11
The alert will go out to whoever you chose to notify.
12
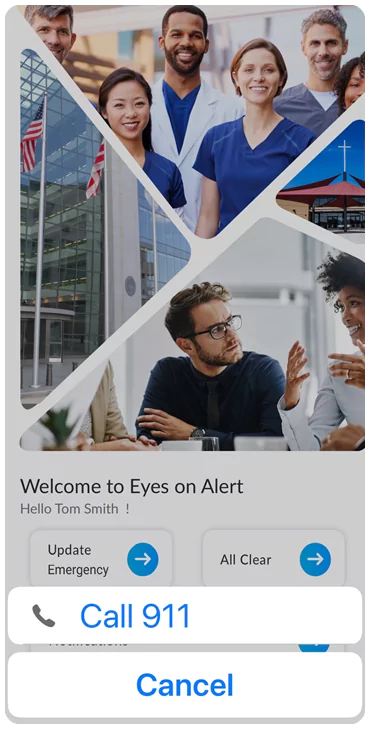
Although everyone you notified will get the notification, you must place a call to 911. Simply press the “Call 911” button. Eyes On Alert did not want you to have to exit the app and waste time so we made the process efficient and quick.
13
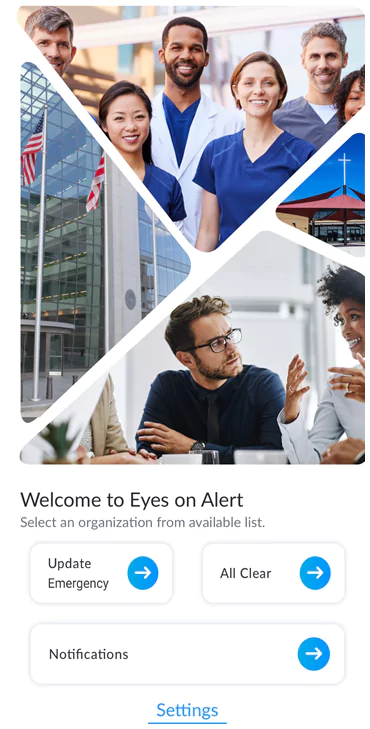
The next screen allows you to:
Update the emergency – If the location or nature of the emergency changes, anyone can update the status.
All Clear – Only those individuals designated by your organization can clear an emergency once it is over.
Notifications – This will take you to a screen showing you the status of an emergency.
*If you are opening the app to view an emergency because you received the banner notification on your phone, you may be viewing the home screen. Simply press “settings” on the home screen to view the notification. When you exit notifications, you will be on the current screen which will allow you to update the emergency should the status change.
14
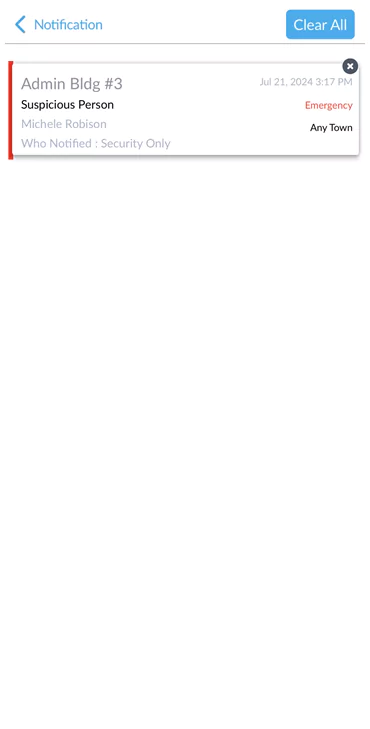
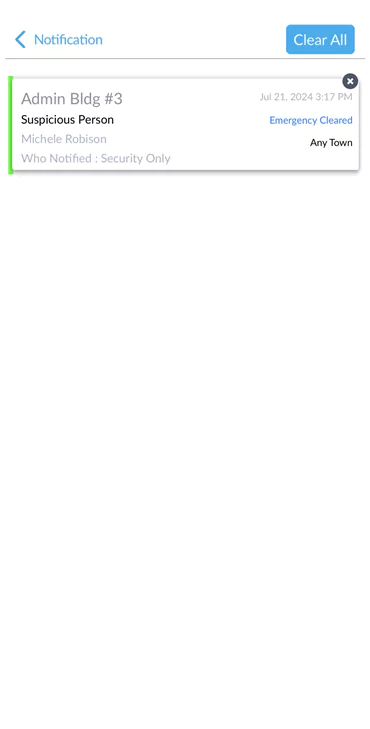
When you go into “Notifications” you can view the type of emergency, the location, who initiated it, and who was notified. It will be time stamped. Each time an update happens, only the current status will appear. This is so people are not confused by viewing multiple emergencies sent.
15
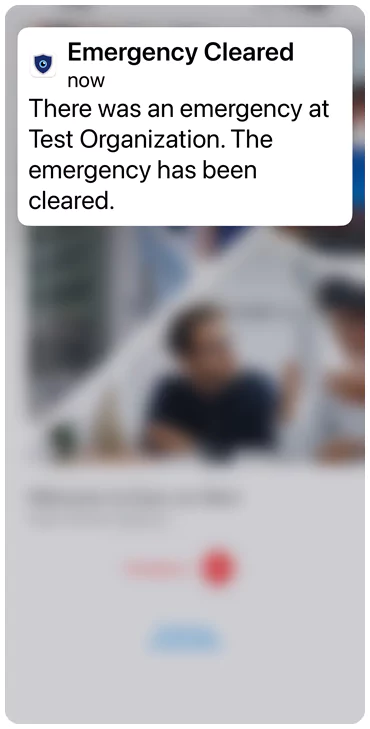
Once the “All Clear” has been pressed, everyone who was alerted to the emergency will be notified that the emergency is now over and those who may be hiding, know it is safe to come out. From the notification screen, you can see the status changes, showing the emergency is cleared. If your campus would like to see the time stamped list of the emergency initiation, any updates and the all clear, Eyes On Alert can email that information to you.
That is all there is to it.
Secure every second, protect every life
with Eyes On Alert.
Don’t wait for a crisis to discover your current system’s limits.
We use cookies to ensure that we give you the best experience on our website. If you continue to use this site we will assume that you are happy with it.ACCEPT